Flooring Options for Your Force Plates
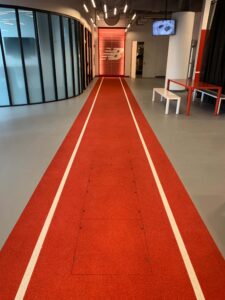
Force plates play a crucial role in analyzing movement and performance across various settings and applications. From clinical gait analysis in lab environments with tile flooring, to weightlifting on a rubber gym floor, or sport-specific training on surfaces like basketball courts, running tracks, turf, or tennis courts; force plates are versatile tools. Whether to leave the force plates uncovered or add a surface flooring material, the choice is yours. Choosing the right solution for your applications and space is essential to ensure accurate data collection while maintaining a functional space for athletes, patients, and researchers.
Ensuring Accurate Data: Maintain Proper Force Plate Separation
Before deciding whether or not to apply flooring over your force plates, it’s important to understand the spacing requirements around them. A minimum 1/8” gap on all sides is required to prevent contact with surrounding surfaces, ensuring the plates remain fully isolated. Any contact between the force plate and the adjacent floor is likely to compromise the accuracy of your force measurement data.
Think of it this way: Imagine standing on a bathroom scale and leaning against a wall. Your actual weight hasn’t changed, but the scale’s reading will. The same principle applies to force plates—any contact with another surface can distort the measurements.
Choosing Your Flooring: Safety, Accuracy, and Simulating Real-World Surfaces
For many applications, leaving the force plates uncovered is the simplest solution. Uncovered, AMTI force plates are finished with a 2-part polyurethane enamel powder coating. This approach allows unrestricted access to the thru-top mounting holes, ensures straightforward recalibrations down the road, and minimizes the work required for initial setup and installation.
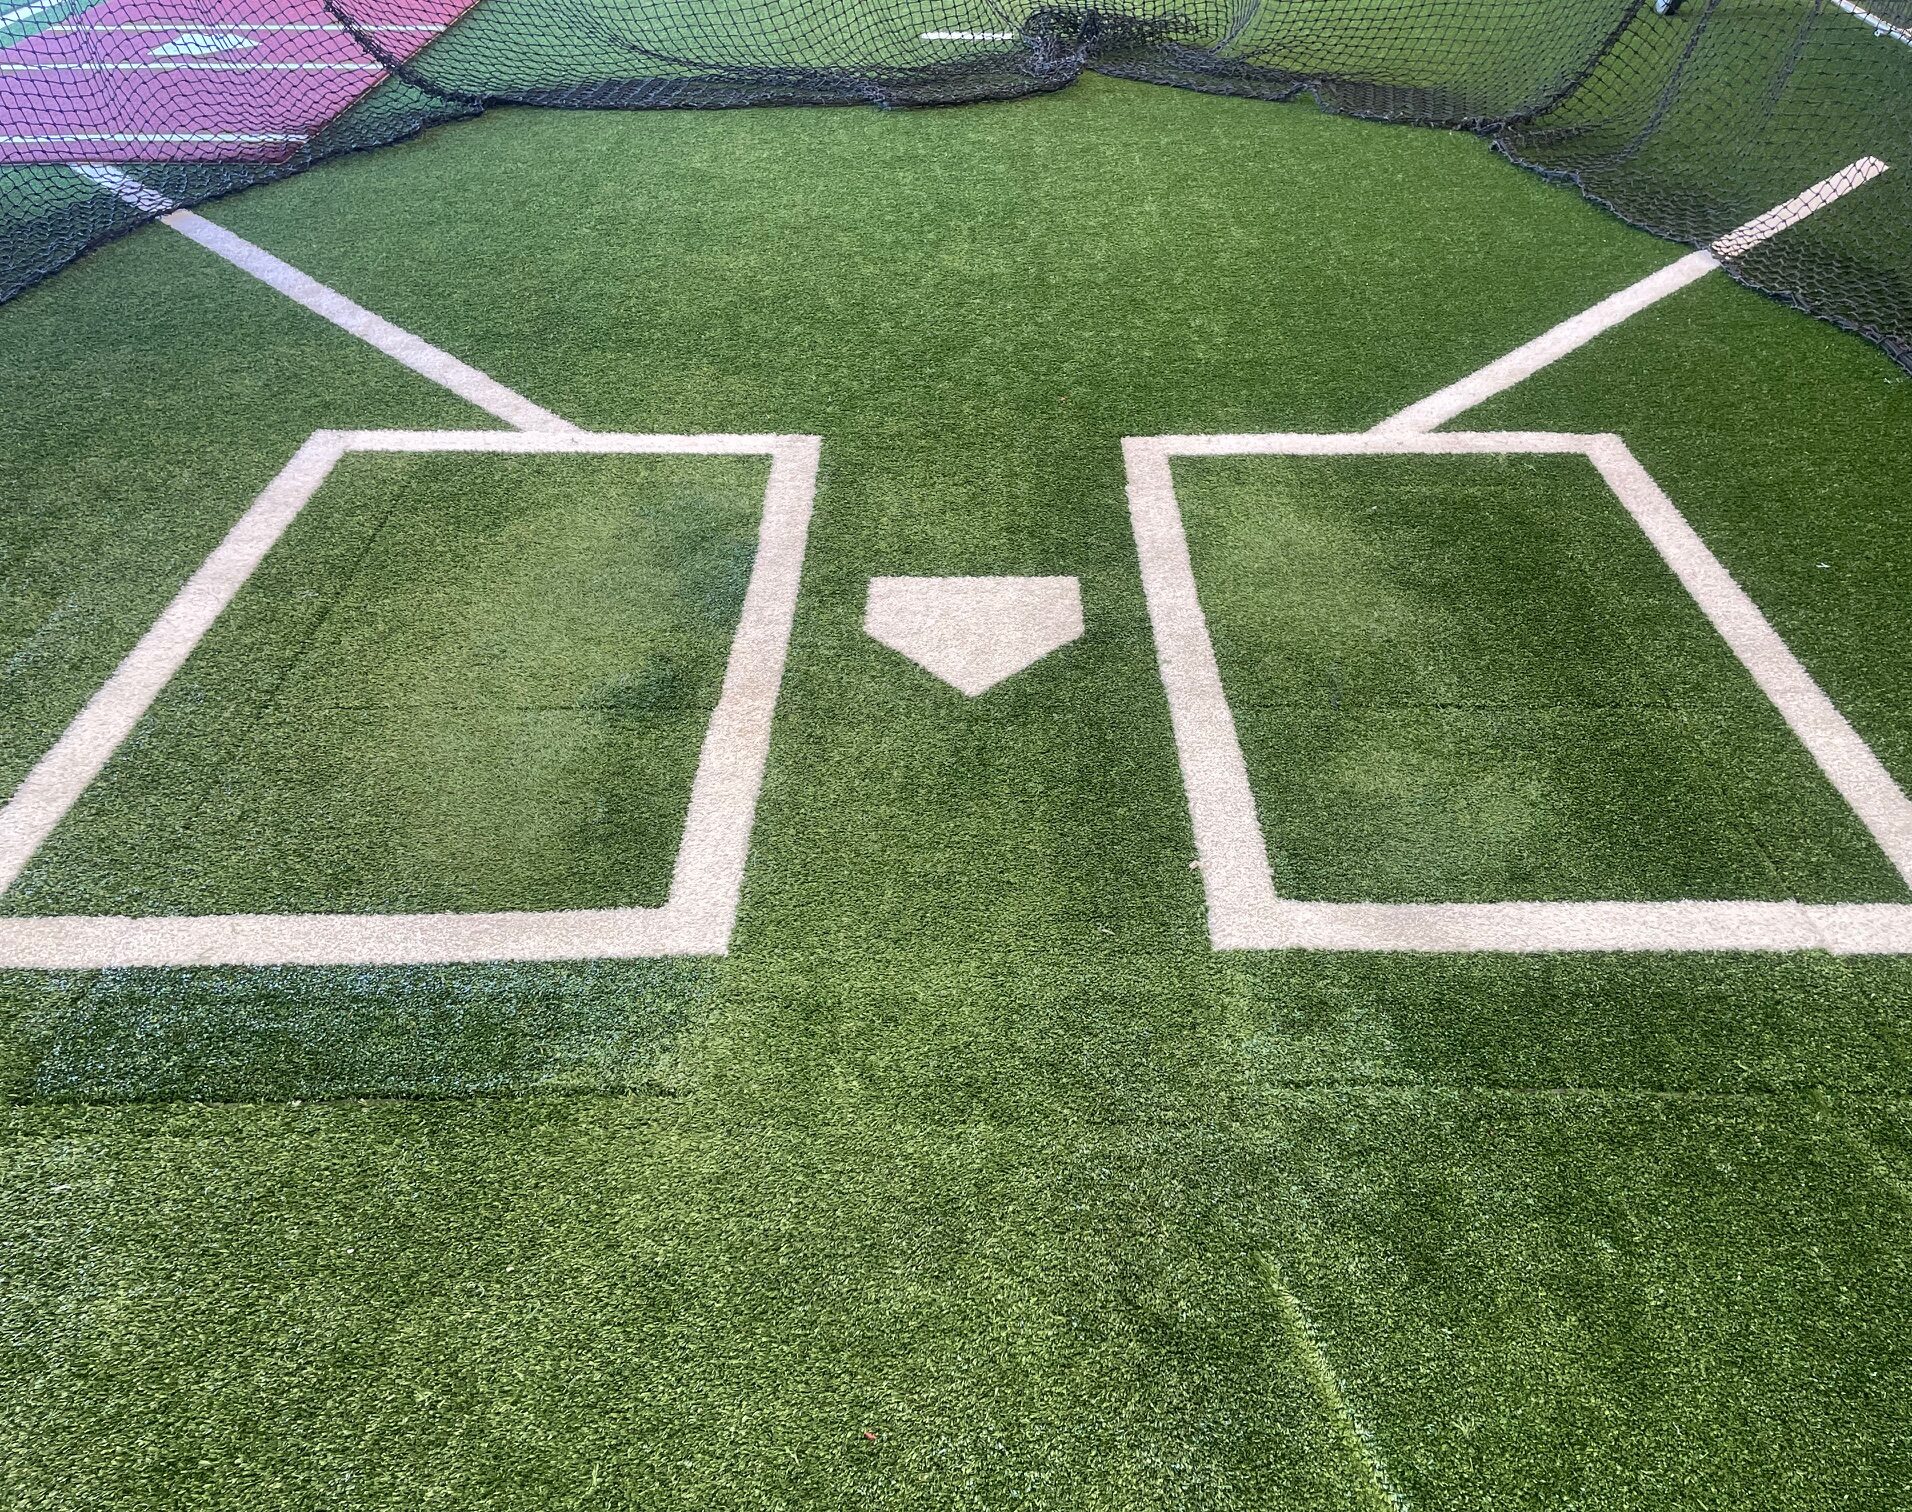
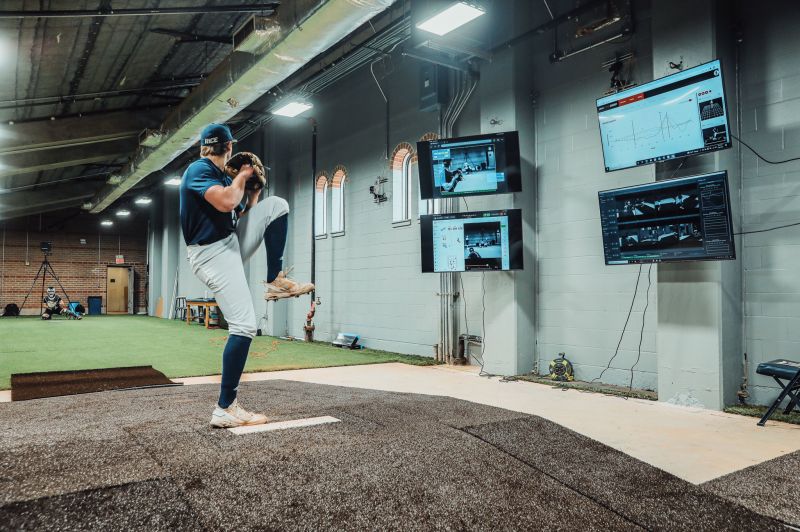
However, some high-intensity, more dynamic movements (such as jumping, cutting, or rapid directional changes) may feel slippery on uncovered plates. In these cases, incorporating a surface flooring can enhance safety and performance while maintaining accurate data collection. Additionally, researchers often want to replicate the actual conditions of the activity being studied—for example, studying basketball movements on hardwood rather than a tile or rubber floor—to ensure the data closely reflects real-life scenarios.
The most important consideration is to choose a solution that best reflects and supports the movement that you are looking to study. Incorporating a surface flooring can offer a more seamless “look” in your lab space, while ensuring subjects can move freely in a natural environment.
Considerations for Applying Flooring Over the Force Plates
To maintain data accuracy and gold-standard performance when applying a flooring to your force plates, ensure that you follow these key guidelines:
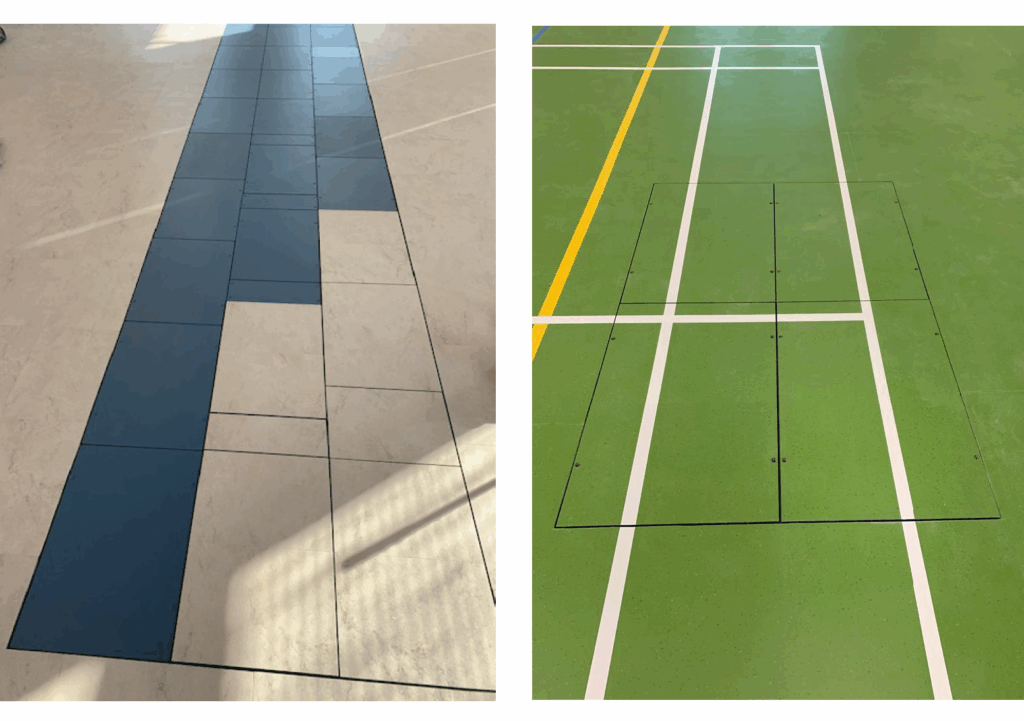
- Flooring must be cut to the exact dimensions of the force plates. Any overhang resulting in contact between the flooring and adjacent surfaces can shunt forces and compromise measurement accuracy.
- Flooring must be rigidly and securely affixed to the force plates. If the flooring shifts or moves during use, it can compromise the accuracy of the measurements and introduce error into the data.
- Thru-top mounting access holes should remain accessible in case the force plates need to be removed or serviced. The flooring can be cut and installed with removable plugs or designed to peel back for access to these thru-top mounting holes.
- Consider the extra height added by flooring. For example, if a 3⁄8” thick flooring is to be applied over a force plate, the pit depth should be made 3⁄8” deeper to maintain a level surface with the finished floor.
- Note 1: The thickness of the flooring must also be accounted for in the Z-offset of the force plate origin to ensure accurate Center of Pressure (CoP) calculations. The flooring thickness can be added in as a “Z-Extension” in AMTI’s NetForce software.
- Note 2: For Optima force plates (BMS, HPS, MMS), the X-, Y-, and Z-offsets are zero (0, 0, 0). Older models had non-zero offsets. Please consult the calibration file for older platforms to confirm precise origin offset values.
- AMTI may not be able to recalibrate force plates with flooring attached. If you plan to send your force plates in for recalibration, the flooring will likely need to be removed beforehand. This factor should be considered when selecting an attachment method to ensure long-term maintenance convenience.If you’re interested in learning more about our Calibration Services, contact us to request a quote.
How To Attach Flooring to Your Force Plates
Selecting the best attachment method for attaching a surface flooring material to your force plates depends on the flooring type, facility requirements, and future service considerations. Here are the most common options:
- Adhesive (Epoxy):
- Works well for tile or rubber flooring.
- Provides a strong bond, but can be difficult to remove down the road if/when plates need recalibration.
- Very rigid tiling can be difficult to remove without breaking. Consider keeping spare tiles if removal damages existing ones.
- Consider incorporating “plugs” in flooring for access to thru-top mounting holes in the force plate.
- Heavy-duty double-sided tape:
- Easier to apply and remove than adhesive.
- May not bond or adhere well with certain flooring materials. Best to obtain a sample of your flooring surface and test adhesion with double-sided tape before committing to this method.
- Industrial-strength hook and loop fasteners (Velcro):
- Ideal for attaching artificial turf.
- Offers a secure hold while allowing for easy removal/replacement when needed.
- May not bond or adhere well with certain turf backings. Best to obtain a sample of your desired turf and test adhesion with hook + loop/industrial Velcro.
A Note About Force Plate Performance with Additional Flooring
A common question amongst users and researchers is whether attaching a flooring material to the force plates will impact the integrity of the readings and/or data accuracy. While flooring materials of varying thickness and stiffness may yield different ground reaction force (GRF) results, these discrepancies are not data inaccuracies. In reality, the measured forces are more accurately reflecting the forces the subject or athlete is experiencing with those flooring conditions.
For example, a thick rubber floor will dampen the ground reaction forces recorded by the force plate during a countermovement jump as compared to a hard tile floor. However, those measurements accurately reflect the same, dampened forces sustained by the subject.
In summary, selecting the right flooring approach for your force plates is about more than just aesthetics—it directly impacts data accuracy, user safety, and the realism of your testing environment. Whether you choose to leave your force plates uncovered for simplicity and accessibility, or opt to integrate a surface material that better suits the activity being studied, it’s critical to maintain proper isolation with a 1/8” gap around all sides of the force plate. If you do decide to add flooring, it must be cut precisely, secured firmly, and designed with future recalibrations and maintenance in mind. Rather importantly, the surface you choose should reflect the real-world conditions of the movement or sport you’re analyzing—whether that’s hardwood for basketball, rubber matting for weightlifting, or turf for field-based activities. With thoughtful planning and the right setup, your force plates can deliver reliable, high-quality data in a space that’s both functional and true to the demands of your research or application.